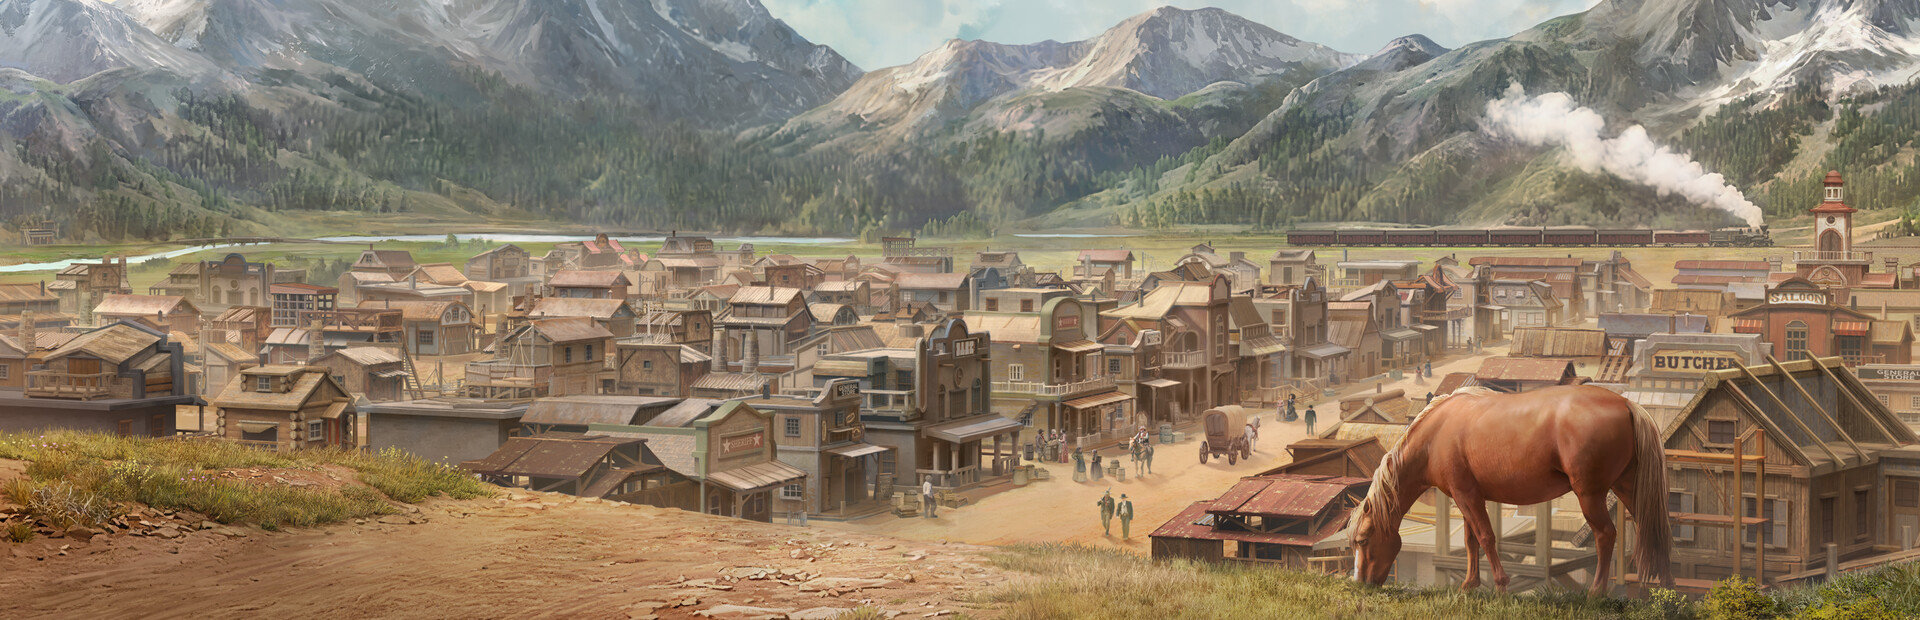
Wild West Pioneers Best Build Order: What to Build First
Quick answer
The best first build order is not one fixed demo script. Start with the need your map makes hardest: water on inland starts, food on river starts, then housing, wood, storage, roads, and scouting once the town is stable.
The best Wild West Pioneers build order is not a rigid copy of the old February demo. In the current playtest window, your first buildings should answer the map in front of you: water if you settle away from a river, food if water is already handled, and storage/roads before production distance turns into a hidden bottleneck.
Use this page for what to build first. Use the best settlement layout guide for where those buildings should go.
Quick Build Order
| Phase | Build or check | Why it comes now |
|---|---|---|
| 1 | Town Hall / starting hub | Defines the settlement core and future roads |
| 2 | Water plan | River access, Well, or Water Tank depending on start |
| 3 | Basic housing | Keeps settlers close to the first services |
| 4 | Food source | Prevents the first population crisis |
| 5 | Wood gathering | Supports construction and fixes |
| 6 | Warehouse / storage | Shortens hauling and supports chains |
| 7 | Direct roads | Connects homes, jobs, and storage |
| 8 | Journey choice | Pushes the settlement toward its current weakness |
| 9 | Scout's Cabin / expedition support | Opens expansion after the core can survive |
| 10 | Second settlement | Solves a resource or trade problem |
What Should You Build First?
Build the first thing that prevents collapse. For most starts, that means water, food, housing, wood, storage, and roads before advanced production.
| If your start has... | Build first after the hub |
|---|---|
| Easy river water | Food, housing, wood |
| Weak water access | Well or Water Tank plan, then housing |
| Strong hunting/food nearby | Water and storage so food can actually reach settlers |
| Strong forest nearby | Housing and food before overproducing wood |
| Lots of open flatland | Roads and storage before you sprawl |
The mistake is treating "best build" as a universal order. Wild West Pioneers rewards reading the terrain.
First 5 Minutes
Your first five minutes should answer four questions:
- Where will settlers live?
- Where will they get water?
- Where will food come from?
- Where will goods be stored?
Do not chase a perfect town image. A compact, slightly plain settlement that works is stronger than a pretty main street with no food route.
Food vs Water
Food and water are both first-tier needs. The priority depends on what your Town Hall site gives you for free.
| Start | Safer priority |
|---|---|
| River start | Food -> Housing -> Wood -> Storage |
| Inland start | Water -> Food -> Housing -> Wood |
| Food-rich start | Water support -> Storage -> Housing |
| Forest start | Food -> Housing -> Warehouse -> Wood chain |
If settlers are already near water, food usually becomes the urgent system. If they are not near water, a food-first opening can still fail because homes are placed around an unsolved need.
When to Build Storage
Build storage early. A warehouse is not a late convenience; it is the center of the first economy. Put it where food, wood, homes, and the main road can all reach it without long detours.
| Storage rule | Reason |
|---|---|
| Keep it near early production | Reduces dead walking time |
| Keep a road clear around it | Prevents the town core from clogging |
| Do not hide it behind homes | Housing should not block the economy |
| Leave room for later chains | Early Access may expand production needs |
Journey Points and Progression
The Journey system should guide your next build choice. If the Journey path asks you to improve happiness while your food is unstable, fix food first. If a resource path opens while housing is weak, stabilize housing before adding more production workers.
Beginner-friendly Journey logic:
| Settlement problem | Better Journey focus |
|---|---|
| Not enough basic resources | Resource or production focus |
| No clear expansion target | Exploration focus |
| Population growth is stalled | Happiness and needs focus |
| First town is stable | Scout and second settlement progression |
When to Build Scout's Cabin
Build scouts after the town can operate without all workers at home. Scouting too early can make a weak first settlement worse.
Scout when:
| Requirement | Why |
|---|---|
| Food is stable | Fewer emergency shortages |
| Water is solved | Housing can grow safely |
| Wood is steady | You can build fixes quickly |
| Storage is not overloaded | Expansion goods have somewhere to go |
| Workers are available | Scouting should not empty core production |
When to Start Production Chains
Start the first production chain once the basics are connected. Wood is usually the cleanest early chain because construction depends on it. Food chains come next if the map requires processing or delivery.
| Chain | Start when |
|---|---|
| Wood | You have storage and a road to the logging side |
| Food | Housing demand is stable enough to support more workers |
| Water | Housing expands beyond natural water access |
| Trade | You have a second settlement or outpost with a useful role |
Second Settlement Timing
Your second settlement should not be a vanity project. Found it when it gives you a resource, trade route, or expansion position the first town cannot provide.
| Found a second settlement for... | Not for... |
|---|---|
| Better food access | Copying the same weak town |
| Stronger wood or production space | Escaping a fixable storage problem |
| A trade route advantage | Building far away with no plan |
| New resource streams | Adding population before basics work |
Build Order FAQ
What is the best first build in Wild West Pioneers? After the Town Hall or starting hub, solve water or food depending on your start. Then add housing, wood, storage, and roads.
Should I build food or housing first? You need both quickly. If water is already easy, food before extra housing is safer. If water is not solved, plan water before expanding housing.
When should I build the Scout's Cabin? Build scouts after food, water, housing, wood, and storage are stable enough that the first town will not collapse while workers are away.
Is this the same as a layout guide? No. This page covers build order and progression. The layout guide covers Town Hall placement, roads, snapping, warehouses, housing blocks, and production zones.
Choose your next move
Related Guides
Once this question is solved, continue to the next decision without returning to search.
Wild West Pioneers Best Settlement Layout & Road Planning
Plan the best Wild West Pioneers settlement layout with Town Hall placement, roads, snapping, warehouses, housing, water, food, wood, and expansion space.
Wild West Pioneers Settlement Layout Checklist
A compact Wild West Pioneers settlement layout checklist for checking Town Hall, water, housing, warehouse, roads, production zones, and expansion exits.
Wild West Pioneers Trade Routes Guide: Trading, Transport & Warehouses
A practical Wild West Pioneers trade routes guide covering trading, transport, warehouses, multiple settlements, wagons, surplus checks, and safe route planning.